Don’t Forget to Leave Room for Chocolate Cake Coffin Cake (Lactose-free)
This is my go-to-it cake for birthdays and any special occasion when it has to be chocolate.
If you are making this for the Halloween Coffin Cake not only do you have to double the recipes but you will need Two- 9×13 inch pans. Before you panic, you can buy another pan, borrow another pan, or make the recipe once and after the first cake is baked, make it again.
If you have two pans I’ve doubled the recipe and I did the math, in bold. You’re welcome!
Tip: The cake will taste better and be easier to cut if you make it one-two days before the event.
For the Halloween Coffin Cake you will need:
• A cake board available at cake decorating stores of the Bulk Barn
• Black Icing Colour – it comes in a small plastic bottle and is more of a paste than a liquid and red gel for the blood – Wilton makes it.

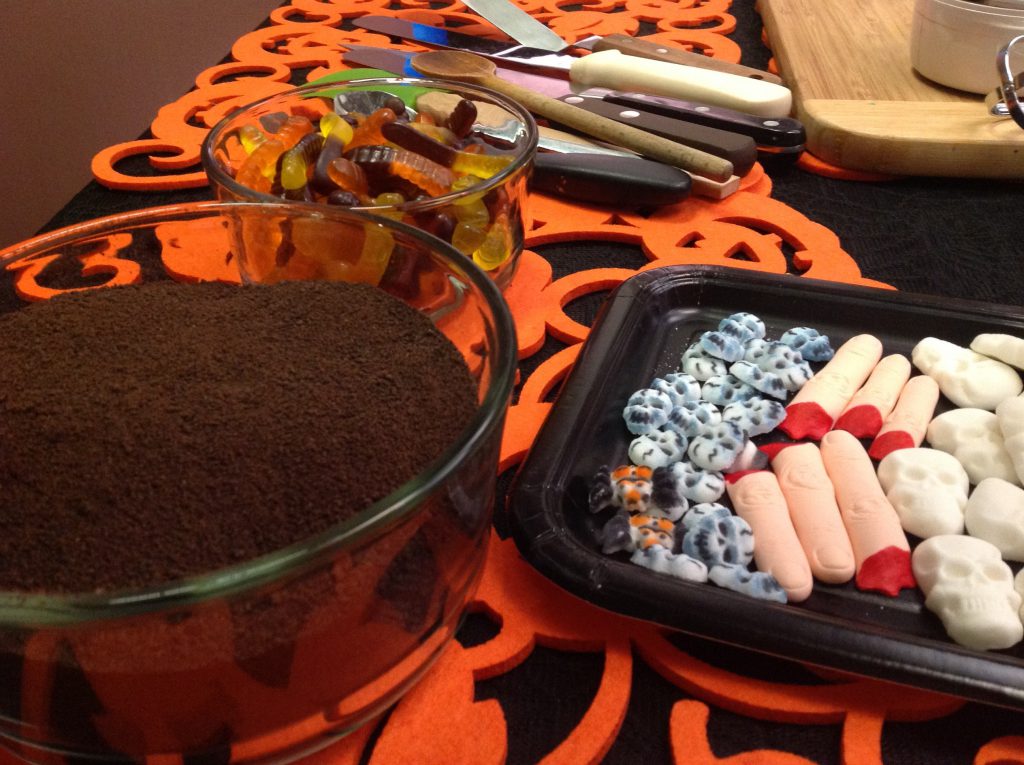
• Candy for decorating – I used gummy worms, fingers, and skulls
• A large chocolate bar for the headstone
• Chocolate cookie crumbs for the dirt surrounding the coffin
• A glass or metal bowl to make the icing in – plastic will get stained from the black paste
• Black sprinkles – optional
1 cup (250 mL) whole-wheat flour (2 cups)
2/3 cup (150 mL) all purpose flour (1 1/3 cups)
1½ cups (375 mL) granulated white sugar (3 cups)
2/3 cups (150 mL) natural cocoa powder (1 1/3 cups)
1½ tsp (7 mL) baking soda (1 Tbsp)
¼ cup (60 mL) canola oil (1/2 cup)
1 cup (250 mL) fortified organic chocolate soy beverage (2 cups)
2 tsp (10 mL) fresh lemon juice or apple cider vinegar (4 tsp)
1 – omega-3 egg (2 eggs)
1 – 4.5 oz. (128 mL) bottle baby food strained prunes (two 4.5 oz bottles)
1 tbsp (15 mL) pure vanilla extract (2 Tbsp)
Black Icing
Note: this will stain your teeth, lips, tongue and eventually your gastrointestinal tract; just warning you. It’s a food grade dye so it’s okay.
1 cup (250 mL) unsalted non hydrogenated margarine (lactose-free version) OR softened unsalted butter
5 cups (1.25 L) icing sugar, sifted
1 ½ cups (625 mL) cocoa powder, sifted
1 tbsp (15 mL) pure vanilla extract
¼ cup (60 mL) fortified organic chocolate soy beverage (lactose-free) OR milk
1 oz – the entire container of Black Food Colouring Paste, not the liquid food colouring – I use Wilton’s Black Food Colouring Paste
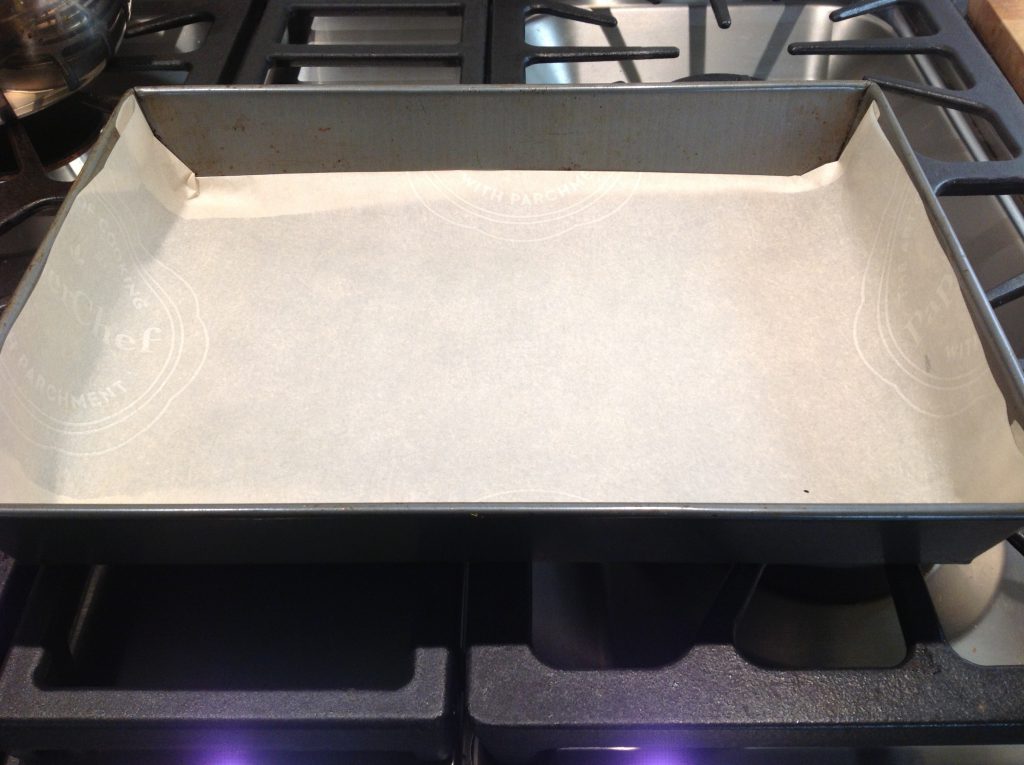
1. Preheat the oven to 350°F (180°C). Lightly spray a (two) 9×13-inch (23×33 cm) metal cake pans, and then line with parchment paper.
2. In a large bowl mix together the whole wheat flour, all-purpose flour, sugar, cocoa powder, and baking soda.
3. Add the chocolate soy beverage, lemon juice, oil, egg, strained baby food prunes and the pure vanilla.
4. Using a hand mixer blend or wire whisk beat the ingredients together for 1 minute, scraping the bowl often.
5. Turn the speed up to medium or whisk like your life depended on it for 2 minutes.
6. Pour equally into the prepared pans and bake for 30-35 minutes or until a toothpick comes out clean.
7. Cool on a wire rack for 10 minutes then remove from the pans, flip over and remove the parchment paper and continue cooling.
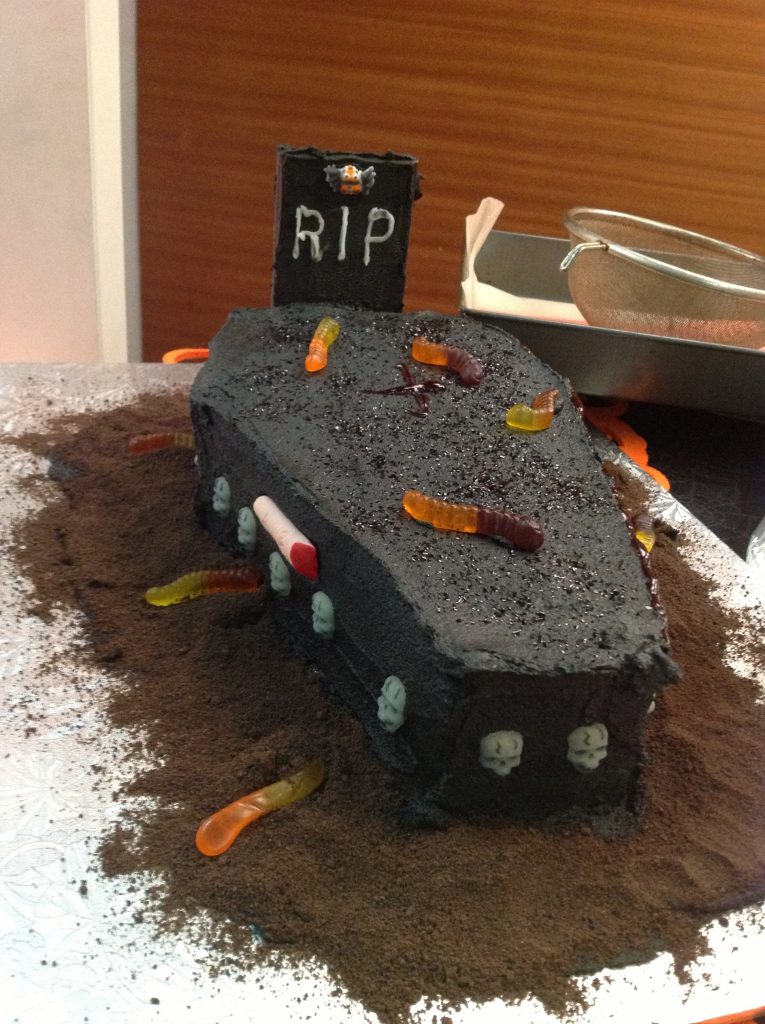
8. Cut out a template for the coffin. Be creative – see picture.
9. When the cakes have completely cooled, place template on top of the cake and using a sharp knife cut around the edges. Remove cake that you don’t need and eat!
10. Make icing: Use a glass or metal bowl – plastic will get stained. Beat margarine or butter until soft and fluffy. Add icing sugar, cocoa powder, vanilla, soy beverage or milk. Slowly beat in until creamy.
11. Add the black food paste. Slowly beat in. Can be made the day ahead – Cover and leave on the counter overnight if desired.
12. To make the Grave Marker: Ice the chocolate bar with a thin layer of icing and set aside.
13. Place waxed paper strips on top of the cake board; this will help keep your cake board clean. Place the first layer of the cake on top of the strips – note, you have to be able to gently pull the waxed paper off without ruining the cake.
14. Place a small amount of icing or raspberry jam on top of this layer. Top with second cut out coffin.
15. Place most of the icing on top of the cake and then carefully spread icing down all of the sides. Smooth out and either decorate with candy or sprinkle with sprinkles.
16. Write or decorate the Grave Marker and then gently press it into the top side of the cake.
17. I like to use the rest of the icing to spread out on the cake board – then gently sprinkle the cookie crumbs on top to make the effect of dirt.
18. Let the cake sit at least 4 hours before serving – it tastes better the next day.